
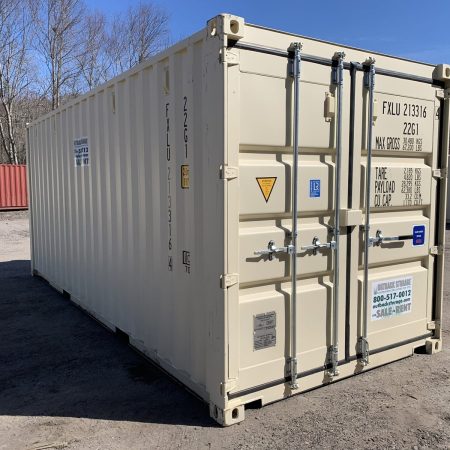

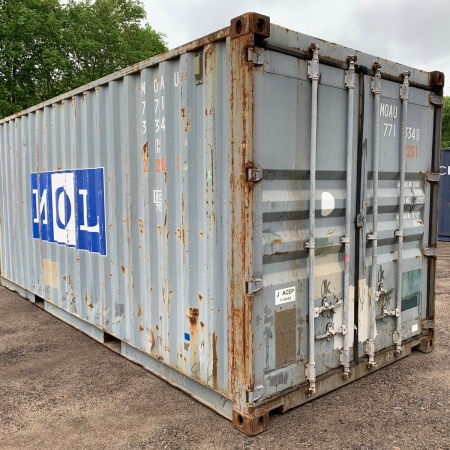

Learning how to insulate a shipping container properly is the single biggest factor in turning a tough steel box into a genuinely comfortable space. A shipping container is built to survive open ocean crossings, but that same steel shell is terrible at managing temperature. Steel absorbs heat fast in summer and loses it just as fast in winter, which means an uninsulated container can feel like an oven in July and a freezer in January.
The good news is that insulating a container isn’t complicated once you understand the handful of material options available and how they fit together. Each method has a different balance of cost, R-value (a material’s resistance to heat flow), and how much interior space it takes up. Picking the right one depends mostly on what you’re building and where you’re building it.
This guide walks through exactly how to insulate a shipping container step by step, compares all 7 realistic insulation methods, and gives specific guidance for container homes versus offices or storage. By the end, you’ll know exactly which approach fits your project and your budget.
Why Knowing How to Insulate a Shipping Container Matters
Steel is an excellent structural material and a poor insulator. Without a barrier between the metal and the interior air, a container’s walls will conduct outside temperature straight through, making it nearly impossible to keep comfortable without insulation doing the work first.
There’s also a moisture problem that insulation solves. When warm, humid air inside a container meets the cold steel walls, condensation forms, the same way a cold drink sweats on a hot day. Left unchecked, that condensation leads to rust on the inside of the walls and can damage wood framing, drywall, or anything stored nearby. A properly installed vapor barrier, which typically goes hand in hand with insulation, prevents this from becoming a long-term problem.
Proper insulation also has a real impact on energy costs. According to the U.S. Department of Energy’s home insulation guidance, heating and cooling typically account for a significant share of a building’s total energy use, and that same principle applies directly to an uninsulated steel container, where poor insulation forces any heating or cooling system to work far harder than it should.
Beyond temperature and moisture, insulation also cuts down on outside noise, which matters more than people expect if the container is being used as a home or office near a road, job site, or busy property. Whether you’re planning a full residential conversion or a simple insulated storage unit, the process of how to insulate a shipping container follows the same core principles.
7 Ways to Insulate a Shipping Container: Materials Compared
1. Spray Foam Insulation
Spray foam is applied as a liquid that expands and hardens directly onto the container’s interior walls. It creates an airtight, water-resistant seal without needing interior framing first, which makes it one of the more efficient options in terms of installation time. It also delivers a strong R-value in a relatively thin layer, which matters in a container where every inch of interior space counts.
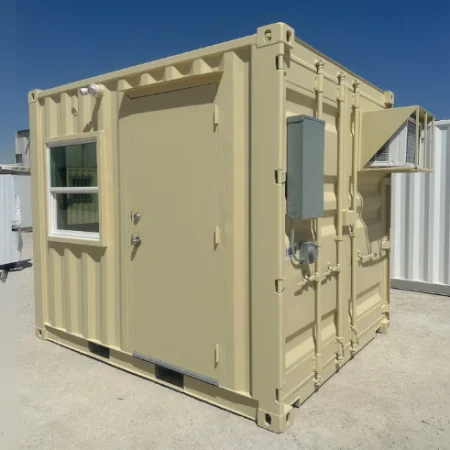
The tradeoff is cost and mess. Spray foam is generally more expensive than other methods and works best when applied by someone experienced with it, since uneven application can leave weak spots. It’s a common choice for full container home conversions where climate control and space efficiency both matter. Our 10ft Shipping Container Office uses 2lb spray foam insulation rated at R-10.5, paired with a dedicated air conditioning and heating unit, which is a good real-world example of what a properly insulated small conversion looks like.
2. Batt Insulation
Batt insulation, the familiar pink fiberglass or mineral wool material used in most residential construction, is one of the most cost-effective options available. It requires interior wall framing to install, since the batts sit between studs, which adds a build-out step but also creates a straightforward path to a finished, drywalled interior afterward.
This is a popular choice for container homes and offices where the finished look matters as much as performance. The main thing to plan for is the extra framing and finishing materials, which add cost beyond the insulation itself.
3. Rigid Foam Panels
Rigid foam board, often polystyrene or polyisocyanurate, comes in solid panels that can be glued directly to the container’s interior walls without any framing. This makes it the fastest and most budget-friendly option to install, and it’s a common choice for basic storage or climate-controlled storage units rather than full living spaces.
The tradeoff is a lower R-value compared to spray foam or well-installed batt insulation, so it’s better suited to moderate climate control than to a space meant for year-round comfortable living.
4. Mineral Wool Insulation
Mineral wool, sometimes called rock wool, is a fire-resistant, moisture-resistant material that also offers strong soundproofing. It installs similarly to batt insulation, fitting between framed studs, and is a solid choice for buyers who want extra fire safety on top of thermal performance.
5. Reflective and Radiant Barrier Insulation
A radiant barrier reflects heat away from the container rather than absorbing it, which is especially useful in hot climates where direct sun exposure heats the steel roof and walls throughout the day. It’s often used alongside another insulation type rather than as a standalone solution.
6. Insulated Panel Kits
Purpose-built kits designed specifically for shipping container walls are molded to fit the corrugated steel surface, reducing air gaps compared to flat panels. These are a convenient middle ground between DIY rigid foam and a full custom-framed build.
7. Natural and Alternative Insulation
For buyers focused on sustainability, materials like sheep’s wool, recycled denim batts, or cork panels are sometimes used. These generally cost more than standard options and can require extra attention to fire resistance and moisture handling, so they’re a smaller niche choice rather than a default recommendation, but worth knowing about if eco-friendly materials are a priority for your build.
Interior vs. Exterior Insulation
Most container conversions insulate from the inside, since it’s simpler, doesn’t require additional exterior structure, and protects the insulation itself behind the steel shell. The tradeoff is a small loss of interior floor space once insulation and interior finishing go up against the walls.
Exterior insulation preserves the container’s full interior dimensions, which matters if you’re working with a compact size like a 20ft unit and don’t want to lose any usable space. It’s generally more expensive and requires additional weatherproofing on the outside, since the insulation is now exposed to the elements rather than protected behind steel.
For most residential and office conversions, interior insulation is the more practical and commonly used approach when figuring out how to insulate a shipping container on a reasonable budget. Exterior insulation tends to make more sense for specialized builds where preserving every inch of interior space is a priority.
Step-by-Step: How to Insulate a Shipping Container
- Inspect and clean the container first. Remove any dirt, rust, or debris from the interior walls before insulating. Treating rust now prevents it from spreading behind finished walls where it’s much harder to catch later.
- Decide on interior framing needs. If you’re using batt or mineral wool insulation, build out stud walls first. If you’re using spray foam or rigid panels, framing can often be added afterward or skipped depending on your finishing plans.
- Install a vapor barrier where needed. This step is especially important in humid climates or for any space where people will be living or working, since it’s the main defense against condensation damage over time.
- Apply or install your chosen insulation. Follow the specific installation method for your material, spraying, gluing panels, or fitting batts between studs.
- Insulate the ceiling and floor, not just the walls. Heat loss and gain happen through every surface, so a wall-only insulation job leaves real gaps in performance.
- Finish the interior. Drywall, plywood, or paneling goes over the insulation to create the final usable surface, and also protects the insulation itself from damage.
- Check for gaps before finishing completely. Small gaps or missed spots in insulation coverage create thermal bridges, points where outside temperature sneaks through, so a final check before closing up the walls is worth the extra hour it takes.
Following this process is really the core of how to insulate a shipping container correctly, regardless of which material you choose from the list above.
Insulating a Container Home vs. a Container Office or Storage Unit
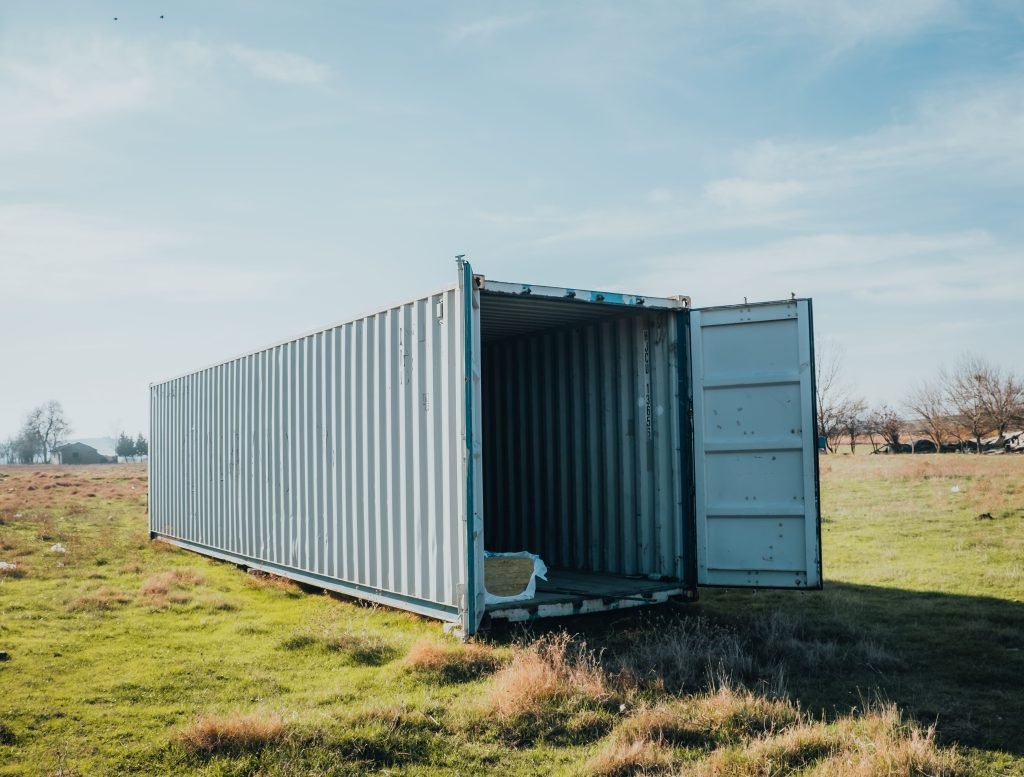
The right insulation approach shifts depending on how the container will actually be used.
Container homes generally justify the higher upfront cost of spray foam or well-installed batt insulation, since they need to perform well year-round and support a fully finished interior. If you’re exploring a full residential build, our 40Ft Living Container House shows what a finished, livable conversion looks like once insulation and interior work are complete.
Container offices need enough insulation to support comfortable daily use and effective heating and cooling, without necessarily needing the same finish level as a full home. This is exactly the balance our 10ft Shipping Container Office is built around, with spray foam insulation paired with a dedicated HVAC unit for consistent comfort.
Storage units often need little to no insulation at all, unless you’re storing temperature-sensitive items. For genuinely climate-sensitive storage, a purpose-built option like a refrigerated storage container (reefer) is usually a more effective and cost-efficient solution than trying to insulate and climate-control a standard container from scratch.
If you’re starting from a raw, uninsulated unit, our Used Shipping Containers inventory is a good place to find a structurally solid base to build your insulation project on, particularly a Cargo Worthy or Wind and Watertight unit that’s already confirmed weatherproof before you begin.
Common Mistakes When Insulating a Container
Even with the right materials, a few mistakes come up often enough to be worth calling out directly. Skipping the vapor barrier is one of the most common, since it seems optional until condensation starts forming behind the walls months later. Insulating only the walls and forgetting the ceiling and floor is another frequent gap, since heat moves through every surface, not just the sides. Finally, rushing the cleaning and rust-treatment step before insulating tends to cause problems that are far more expensive to fix once the walls are finished and closed up.
Conclusion
Knowing how to insulate a shipping container is what actually turns a durable steel shell into a comfortable, usable space, whether that’s a full-time home, a daily office, or climate-sensitive storage. Spray foam offers the strongest performance in the least space, batt and mineral wool insulation balance cost with a finished residential feel, and rigid foam panels work well for simpler, budget-focused projects. The right choice comes down to matching the material to how the space will actually be used, and taking the time to properly handle moisture control and full wall, ceiling, and floor coverage along the way. Skipping that groundwork is the most common reason container conversions end up dealing with condensation and comfort problems down the line.
Frequently Asked Questions
What is the best way to insulate a shipping container home?
Spray foam insulation is generally considered the top choice for container homes, since it delivers strong thermal performance in a thin layer without sacrificing much interior space, while also sealing effectively against moisture.
Do shipping containers come insulated?
No. Standard shipping containers have no insulation at all, just corrugated steel walls, since their original purpose was cargo transport, not climate control. Insulation has to be added after purchase for any livable or workable conversion.
Is it cheaper to insulate a container from the inside or outside?
Interior insulation is typically less expensive and simpler to install, since it doesn’t require additional exterior structure or weatherproofing. Exterior insulation costs more but preserves the container’s full interior floor space.
Can I insulate a shipping container myself?
Rigid foam panels and batt insulation are both realistic DIY projects for someone comfortable with basic construction work. Spray foam insulation is more commonly handled by a professional, since even application matters for performance and it requires specific equipment.
Do I need insulation if I’m only using a container for storage?
Not usually, unless you’re storing temperature-sensitive items. Basic storage of tools, equipment, or general goods typically doesn’t require insulation, though a climate-controlled or refrigerated unit is a better solution than DIY insulation for genuinely sensitive storage needs.

Leave a comment